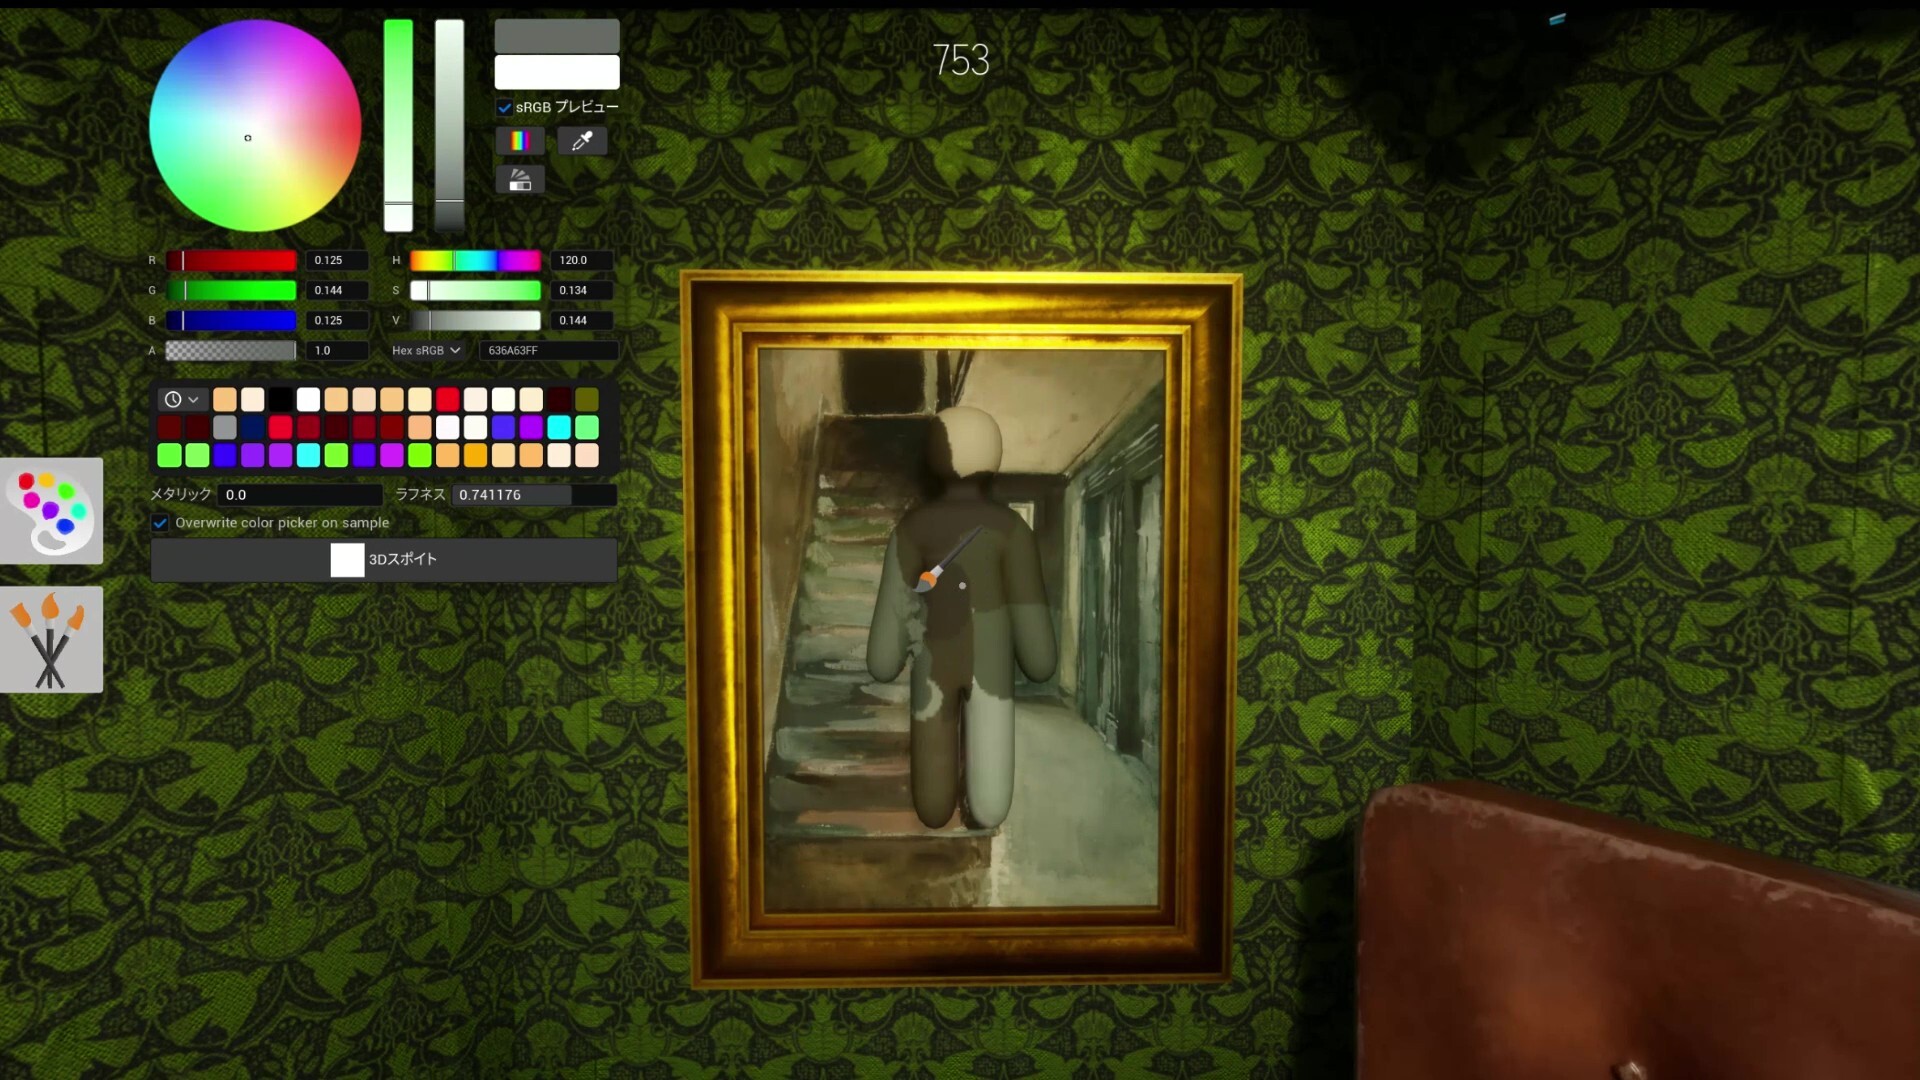
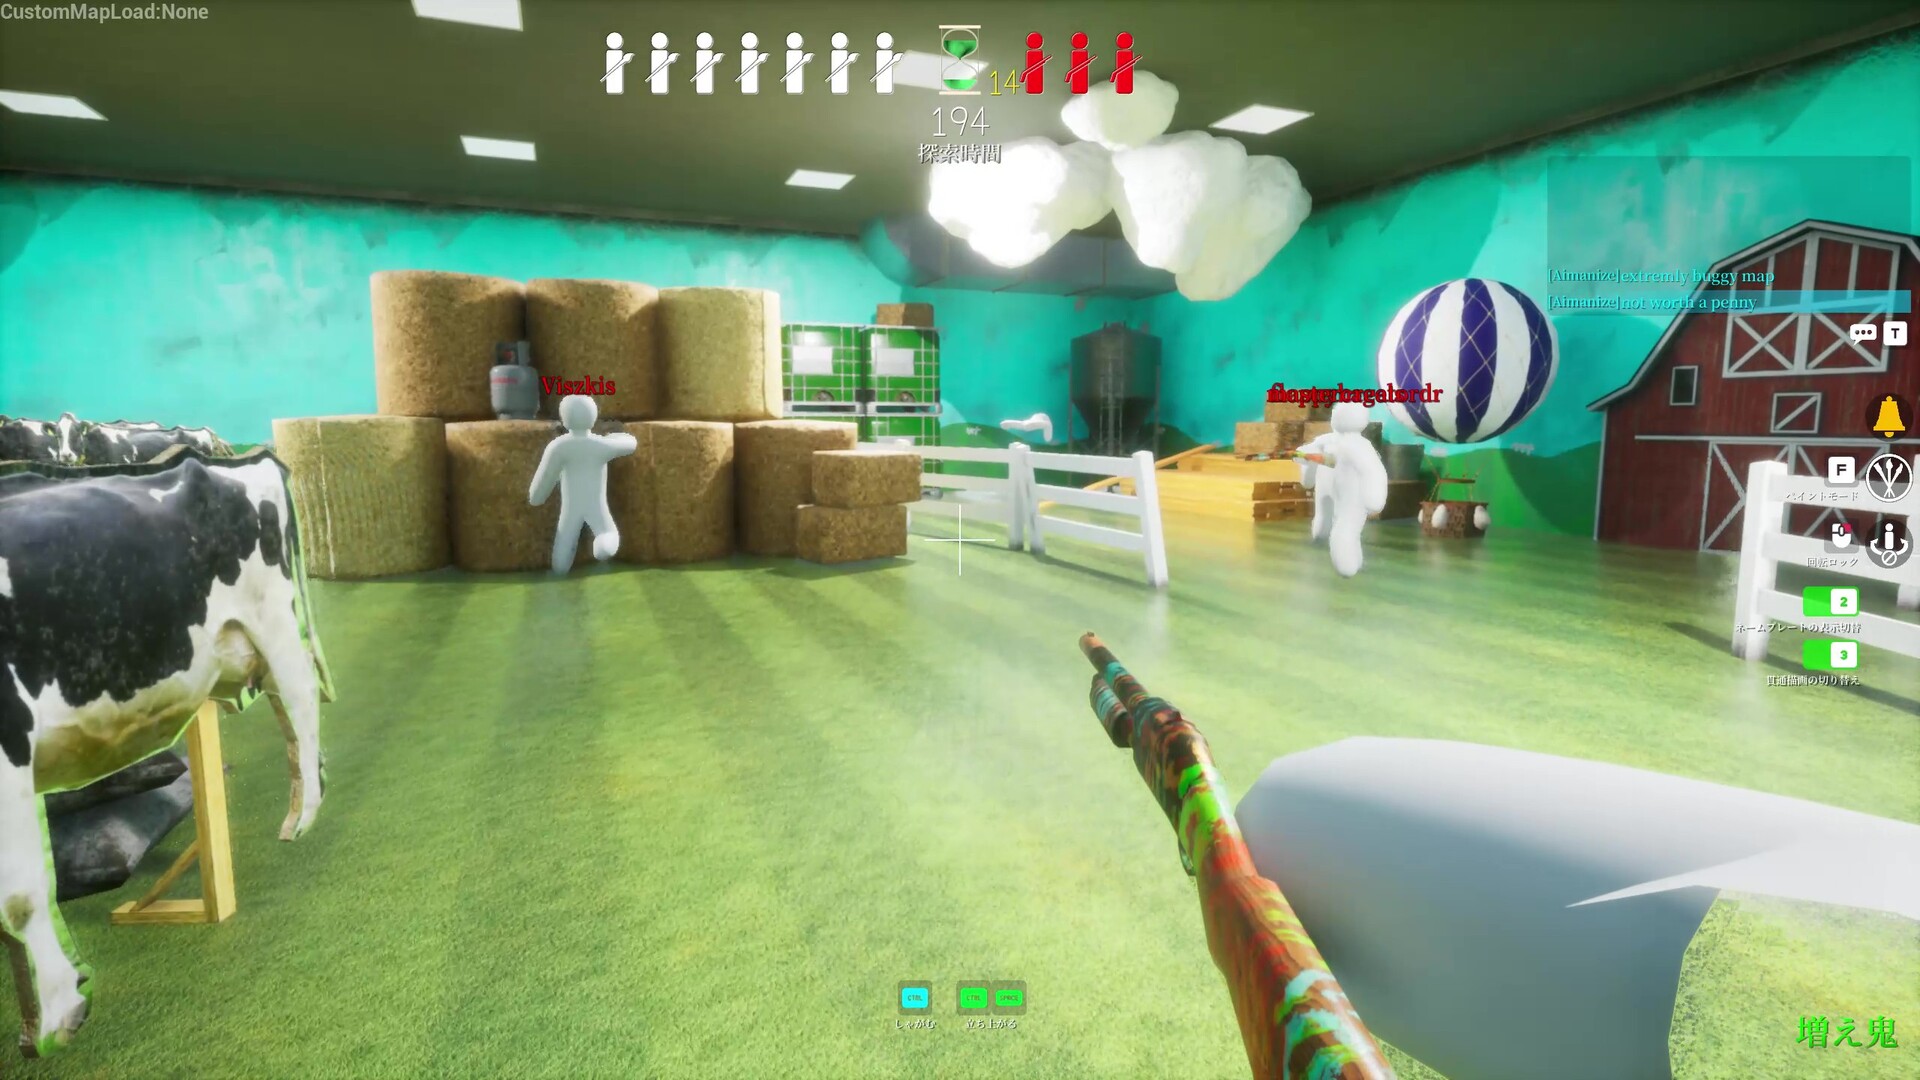
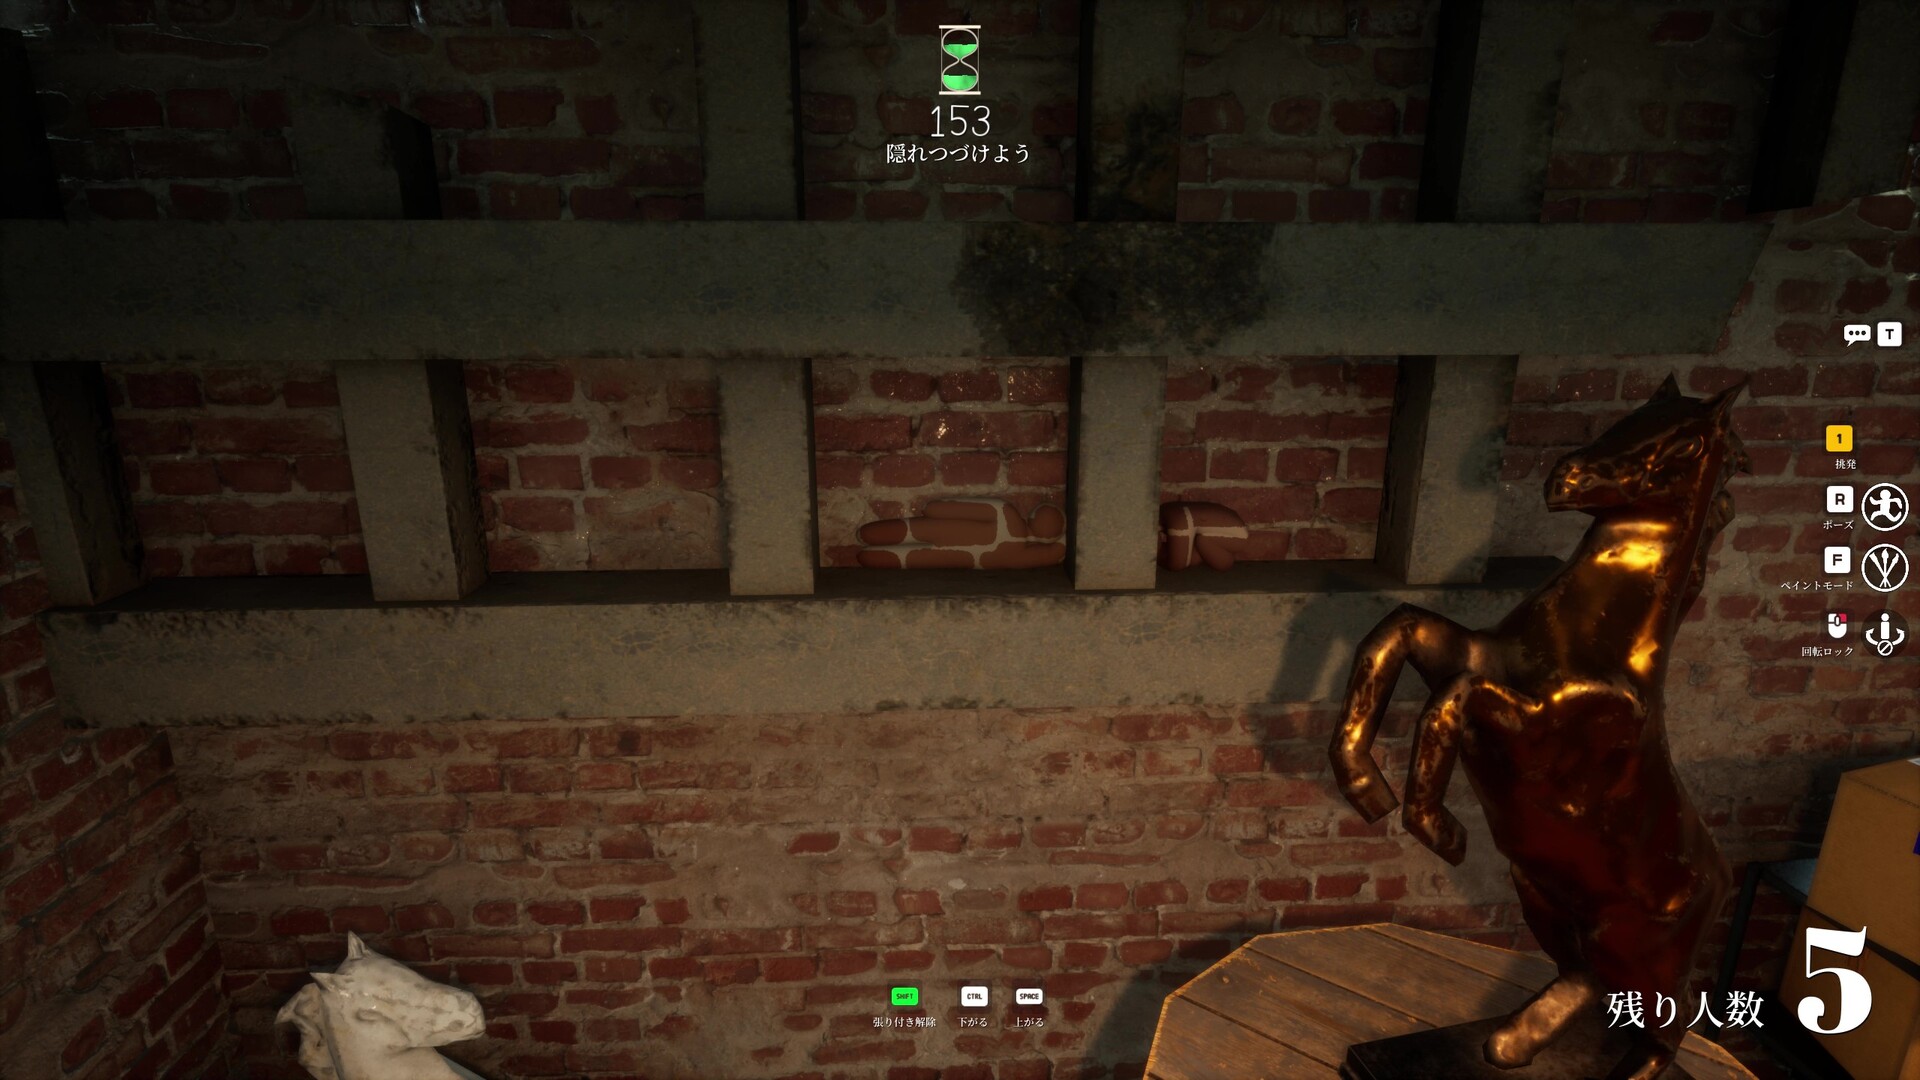
The current hiding spot page is a source-labeled launch database, not a generic listicle. Each record includes map, area, spot type, difficulty, recommended pose, paint advice, why the spot works, when it fails, and the seeker counter. Hiders can use it to choose a setup route; seekers can use it to practice clearing common patterns.
Best hiding spot pages are risky when they become shallow lists. The stronger format is a spot database. A spot should include map, area, surface type, recommended pose, paint approach, difficulty, why it works, when it fails, and the seeker counter. That format turns each entry into a testable mini-guide and keeps the article useful even after the spot becomes popular. Early MVP content can start with spot archetypes such as wall blend, floor pattern, object cluster, ceiling shadow, or clutter mimic. As real screenshots and play tests are added, those archetypes can be replaced by exact map entries. The page should avoid claiming a spot is unbeatable; every hiding strategy needs a counter and a retest date.
Spot Database Fields
Every hiding spot entry should carry enough context to be useful and testable.
| Field | Purpose | Example direction |
|---|---|---|
| Map | Connects to map hub | Official or Workshop map name |
| Area | Makes the spot findable | Room, corner, hallway, object cluster |
| Spot type | Explains why it works | Wall blend, floor pattern, object mimic |
| Best pose | Turns color into silhouette control | Flat, crouched, object-like |
| Seeker counter | Keeps the guide honest | Check outline from doorway |
Launch spot database
25 hiding spot records
The table is built for both roles: hiders get setup and paint advice; seekers get the exact counter-check.
| Map | Area | Type | Difficulty | Paint tip | Seeker counter |
|---|---|---|---|---|---|
| Hide-and-Seek Mansion | Library shelves | Wall blend | Medium | Sample the shelf shadow first, then add darker vertical bands to break the shoulder line. | Change angle from the doorway and compare shelf gaps for a body-width interruption. |
| Hide-and-Seek Mansion | Kitchen counter | Object cluster | Medium | Match the counter underside and floor shadow rather than the brightest counter top. | Sweep the counter base and check for a shadow that moves with the player model. |
| Hide-and-Seek Mansion | Bathroom tile wall | Pattern mimic | Hard | Paint large tile color first, then add two or three grid-line breaks across limbs. | Look for tile lines that stop or bend around a human outline. |
| Hide-and-Seek Mansion | Hallway paintings | Frame mimic | Hard | Use the frame's darkest edge color on arms and a muted wall color on the torso. | Scan each painting for symmetry and check whether its shadow matches the others. |
| Hide-and-Seek Mansion | Side room corner | Corner shadow | Easy | Darken the side facing the room and keep the wall-facing side flatter. | Clear corners first, then revisit if another hider's movement distracts the team. |
| Hide-and-Seek Mansion | Main room pillar | Partial cover | Medium | Copy the pillar side facing the seeker route, not the side closest to your camera. | Walk around pillars instead of clearing them from one frontal angle. |
| Hide-and-Seek Mansion | Patterned floor edge | Floor pattern | Hard | Match brightness first; floor spots fail when the body is too bright. | Tilt down after wall checks and look for floor patterns that do not continue. |
| Hide-and-Seek Mansion | Curtain or drape edge | Vertical texture | Medium | Use vertical dark strokes on the limbs so the body reads as fabric folds. | Check fabric edges for extra depth and inconsistent fold spacing. |
| Hide-and-Seek Mansion | Stair or raised ledge shadow | Shadow pocket | Medium | Lower brightness aggressively and avoid saturated colors. | Pause at stair turns and watch for late adjustments. |
| Hide-and-Seek Mansion | Back of large furniture | Object mimic | Easy | Paint the visible top edge darker than the front face. | Check furniture from the side, not only from the room entrance. |
| Hide-and-Seek Mansion | Doorframe side | Edge blend | Medium | Paint the body as two tones: doorframe edge on one side, wall color on the other. | Scan both sides of each doorway for extra width. |
| Indoor Country | Cow standee cluster | Object mimic | Easy | Copy broad black-and-white patches instead of drawing small cow details. | Compare standee spacing and look for a second shape where only one should be. |
| Indoor Country | Barn wall boards | Wall blend | Medium | Use broad wood tones and add vertical board breaks across arms. | Look for board seams that stop behind the hider. |
| Indoor Country | Hay bale stack | Texture mimic | Medium | Use warm yellow blocks with darker straw scratches only on visible limbs. | Check for smooth surfaces and rounded player edges in the hay stack. |
| Indoor Country | Green crate stack | Object cluster | Easy | Match the crate's darker side, then add black line accents sparingly. | Sweep crate tops for rounded shapes and mismatched shadows. |
| Indoor Country | Cloud ceiling detail | High-angle blend | Hard | Keep edges soft and brightness close to the cloud shape. | Look up after clearing floor props, especially near repeated cloud shapes. |
| Indoor Country | Back side of prop cluster | Partial cover | Medium | Paint the visible side with local shadow, not the prop's front color. | Do one full wrap around each large prop cluster. |
| Sewer | Dark pipe section | Ceiling shadow | Hard | Use very low brightness and copy pipe-edge darkness rather than wall color. | Sweep the pipe line from below and check for extra rounded shapes. |
| Sewer | Oil barrel cluster | Object mimic | Medium | Match the barrel's dark side and add one highlight band only if visible. | Count barrels and inspect any extra rounded surface. |
| Sewer | Drain corner | Corner shadow | Medium | Blend into grime and water shadow; avoid clean black paint blocks. | Use a side angle to separate real corner shadow from painted body shadow. |
| Sewer | Metal walkway underside | Texture mimic | Hard | Use muted gray-green tones and draw simple rail/edge breaks. | Check metal structures for surfaces that lack the same shine as the walkway. |
| Backrooms | Wall-mounted bikes | Object cluster | Hard | Use wall color on the torso and dark bike-frame accents across limbs. | Compare each bike cluster for one area that looks heavier than the others. |
| Backrooms | Stacked chairs | Prop stack | Medium | Copy chair shadows and leave small gaps implied by darker strokes. | Check negative space inside chair stacks for filled-in body mass. |
| Backrooms | Bright ceiling fixture | High brightness mimic | Hard | Match brightness carefully; do not over-saturate the light color. | After floor and wall sweep, compare ceiling fixtures for extra width. |
| Backrooms | Exit sign wall | Signage mimic | Medium | Use sign color only as an accent; keep most of the body matched to the wall. | Check the sign's exact outline and look for an extra colored mass beside it. |
Sources and editorial notes
Status facts should be refreshed against Steam, Steam Community, SteamDB, and current SERP evidence before publishing or promoting this page.
FAQ
Related pages
MECCHA CHAMELEON Maps
The map hub organizes Hide-and-Seek Mansion, Indoor Country, Sewer, and Backrooms by spot count, key areas, role difficulty, and retest status.
Open related guideMECCHA CHAMELEON Hider Guide
Hiders win by combining paint, pose, lighting, silhouette control, and patience. A perfect color with a bad outline still gets caught.
Open related guideMECCHA CHAMELEON Seeker Guide
Seekers should hunt shapes first, then confirm with paint, texture, light, and movement. Random checking wastes time.
Open related guideMECCHA CHAMELEON Updates
Track launch, bug-fix, Workshop, and site-retargeting changes with affected pages and player impact in one timeline.
Open related guide